Crumpets for Breakfast!
Several years ago I tasted my first crumpet. I was in a bigger city and saw a package of them in the grocery store. I had always wanted to try one, so I bought the package and warmed them up when we got home. Oh, man! Sometimes British food can be so surprising! Why hadn't I grown up on these? They were fabulous!
A few weeks ago, I was thinking about those crumpets and wishing that I had a big store in my little neck of the woods where I could buy some more. But, sadly, after searching every grocery store within 30 miles, I came up empty (there are only 5 different stores to check). No crumpets anywhere. Well, I'd prefer to make my own anyway.
Not one to give up, I searched the Internet and YouTube for a recipe and found this King Arthur Flour Crumpet recipe . I followed it to the letter, and …. FLOP! They were hard and solid on the outside, and raw inside. I knew what the problem was. My yeast was old. I also didn't have muffin rings, which would have helped a lot. They aren't necessary, but I knew that I wanted some.
I made a trip to the store for some new instant yeast and a new lease on crumpet making, I also purchased these Crumpet, English muffin rings and went to bed filled with dreams of the perfect crumpet. I was ready to try again!

I mixed the dough, and from the very beginning I could tell that this time, things would be different. This time, it just might work! The dough rested for 1 hour and doubled in size just like it should (funny what fresh yeast will do)!
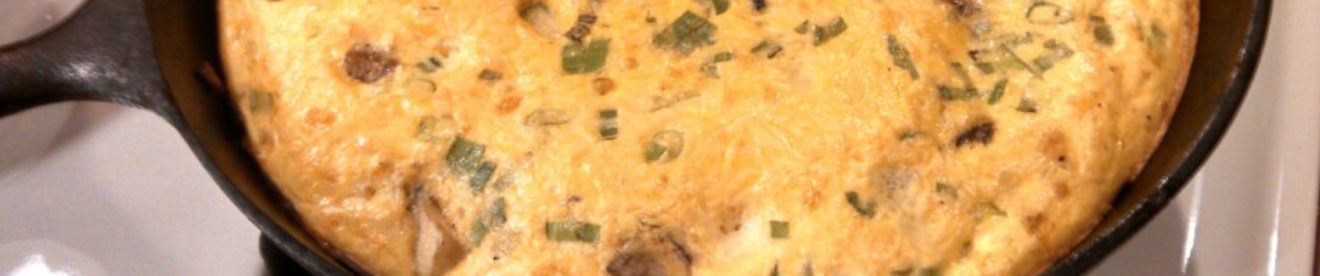
Next, the new rings were greased up, the pan was set on low, and I poured in the batter. After 10 minutes, it looked like this:

I was giggling, I was so happy. Waiting ten minutes to flip them was BRUTAL!
I constantly wanted to check them, fiddle with them, and adjust things, but my head kept telling my heart to, "Be patient." That battle paid off.

After the first round, I turned down the heat a bit. Big mistake. Three rounds later, I finally had the heat set at the best temperature so that I could replicate my first round results.
They were a hit! The kids each ate three of them with jam right away and so did my husband. They were eaten as fast as they came off of the frying pan. Even the burnt ones!
Here is a record of my results:
Round 1 – perfect
Round 2 – undercooked (the pan seemed too hot so I turned down the heat)
Round 3 – undercooked
Round 4 – burnt (I turned up the heat because the last two rounds were so pale)
Round 5 – perfect (set the heat to low AND LEAVE IT ALONE!)
Round 6 – perfect – but needed to leave them in a bit longer than the 15 minutes.
Last one – I added water to thin the batter and see how that would work. WOW! THE PERFECT CRUMPET!!!!

A review of the recipe:
This is NOT something you want to make at the last minute. While the batter mixes up quickly, it sits for an hour before cooking, and each batch you make takes from 15 – 20 minutes. Total time cooking from beginning (mixing the batter) to the end (cleaning up) was 3 hours. I could do things while each round cooked (like write this blog post), but I needed to stay in the kitchen.
My final crumpet was the best, making me think that I will add water to the batter after it has risen next time. Rounds 1 – 6 were a thick batter that had to be scraped out of the measuring cup when putting into the rings. The rings are a MUST! The first time I made them, my batter spread and sometimes connected to another crumpet. You can make your own rings by using tuna cans and removing both top and bottom lids, or I have seen a picture of someone using canning jar lids. After 4 minutes of cooking in the ring, I giggled when each ring could be removed cleanly! So much fun!
The temperature settings need to be low, but sometimes the pan cooled too low. The original recipe called for a setting of 325 F on a griddle. I don't have a griddle, so I am left to wonder if that would have solved the problem. Maybe this will be a last minute item for my gift list?
Considering everything that went into making these, the time they took from beginning to end, the ease of mixing the batter, and the fact that my family devoured them as soon as they came out of the pan, I will make them again! In fact, my husband and both little girls at home asked for them again next weekend! Rule, Britannia!